Posts feature partner companies & may be sponsored. Post contains affiliate links & I will be compensated if you make a purchase after clicking on links. As an Amazon Associate I earn from qualifying purchases.
Last Updated on January 8, 2023 by Diane Hoffmaster
Looking for nail art ideas? Intimidated by the fancy nail art designs online? Maybe I can help! I have never been much into painting my fingernails. Seems like every time I put on a coat of nail polish I end up with my hands in the dishwater or digging up things in the garden. Inevitably my nail polish would get chipped within hours of putting it on my nails.
Needless to say, I haven't experimented with nail art yet! Seems like a lot of work for a few hours' worth of sparkly nails. Now, my daughter on the other hand LOVES painting her nails.
She would happily paint her nails a different color every single day of the week if she had the time. Nails chip? YAY, she says...time to repaint the nails! Over the last few months, she has discovered the joy of nail art designs and I decided it was just about time for me to share her creativity with my readers.
Which nail polish did we use?
We usually aren't too picky about brands when it comes to nail polish but we have learned that cheap nail polish is not worth the time it takes to paint your nails with.
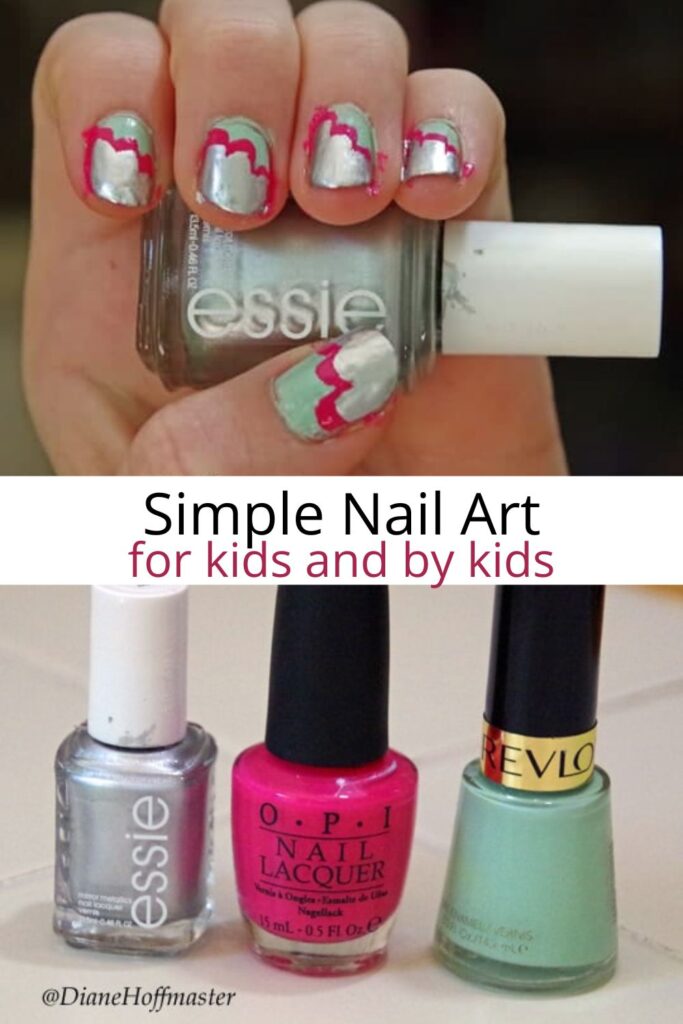
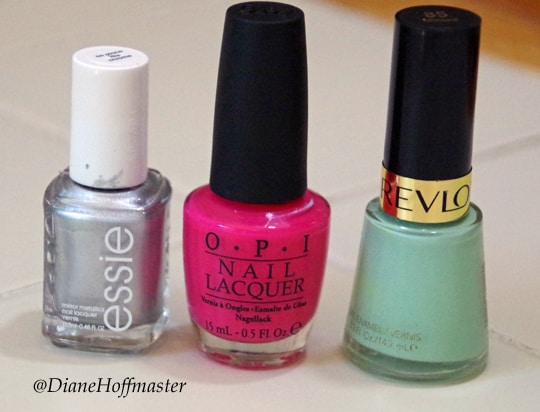
If you are just getting started with nail art I encourage you to spend some decent money on your nail polish. For this project we used:
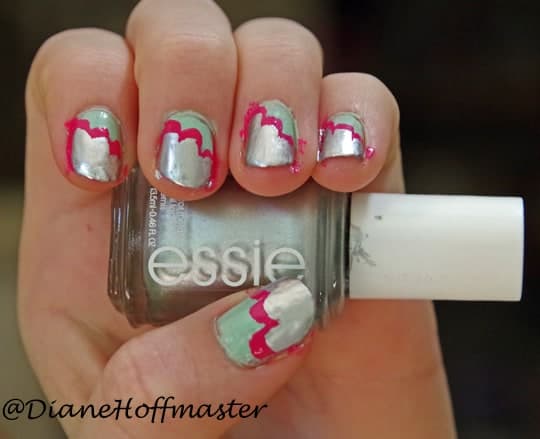
- Revlon Minted (green) (This seems to be hard to find so you can try O*P*I Cactus What You Preach instead)
- O*P*I Strawberry Margarita (pink)
- essie No Place Like Chrome (silver)
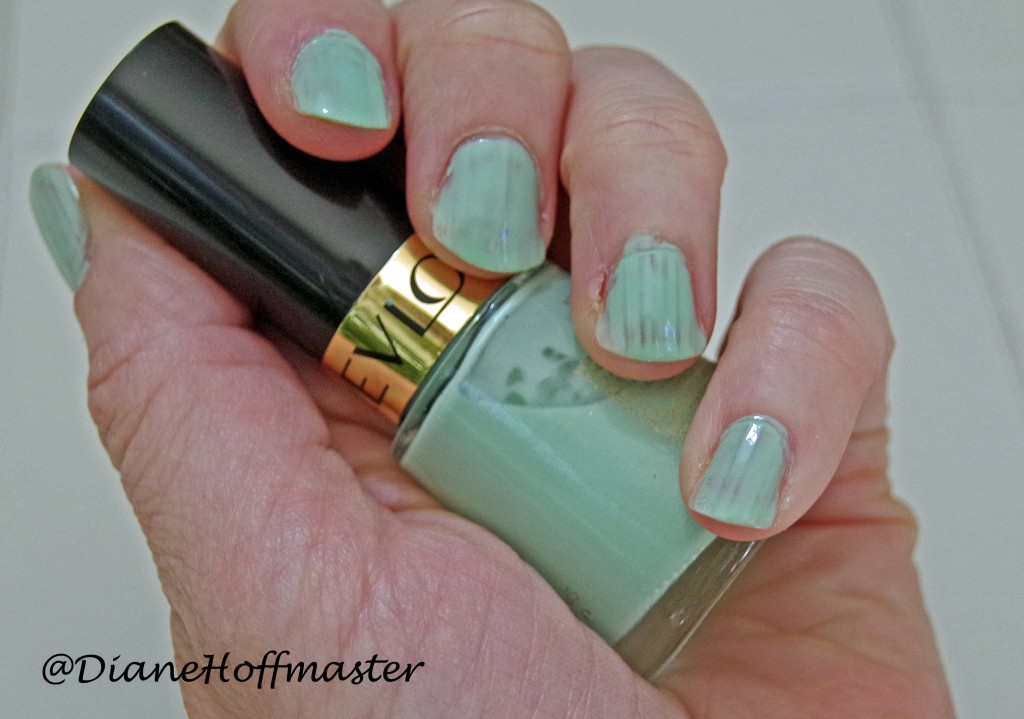
Step one of this nail art project is to put down a base coat of minted green on all your nails. Do two coats if it looks like you need more coverage.
Creating this easy nail art for kids
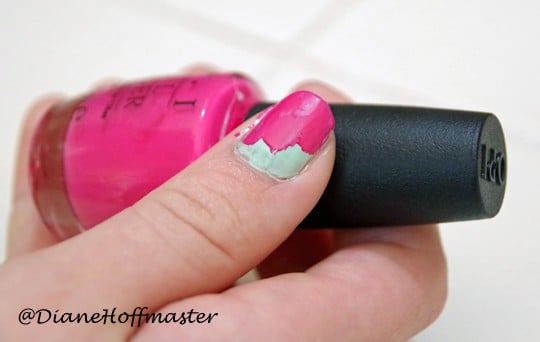
After you let it dry you are going to put on your coat of pink. Starting about three-quarters of the way down your nail (closer to the cuticle) you are going to create a 'step' pattern using three brush strokes that are slightly shorter than the one next to it.
Make sure your brush isn't too loaded down with polish or you won't get a clean look to the pattern. My daughter is still a total novice when it comes to nail art designs so we definitely need some practice but I think she did a fairly good job!
Once this layer is dry you will do the exact same thing with your last coat of polish. Starting a little higher up on your nails make a step-shaped pattern using your last chosen color.
You can add a protective layer of clear polish to your nails once the whole thing is dry. It will help protect your nail art from chipping quite as easily. What do you think?
It's the process, not the product, right?
We definitely have a lot to learn still when it comes to nail art. My daughter has already put together a LONG list of 'wants' for her Christmas list including assorted colors and tools to make her nail art really look sharp. I definitely think her stocking will be full of nail polish and a nail art brush or two.
I'm glad she is having fun with it and maybe one day I will try creating some nail art for myself. Maybe my toenails need a little pizzazz! Would definitely be easier to prevent chipping than it is on my fingernails. Of course, my creativity isn't quite at her level. I am lucky if I put on a coat of white nail polish and call it a day. What nail art projects have you tried?

Diane is a professional blogger and nationally certified pharmacy technician at Good Pill Pharmacy. She has two college aged kids, one husband and more pets than she will admit to. She earned her BS in Microbiology at the University of New Hampshire but left her career in science to become a stay at home mom. Years of playing with LEGO and coloring with crayons had her craving a more grown up purpose to her life and she began blogging and freelance writing full time. You can learn more about her HERE.


Leave a Reply