Posts feature partner companies & may be sponsored. Post contains affiliate links & I will be compensated if you make a purchase after clicking on links. As an Amazon Associate I earn from qualifying purchases.
Last Updated on March 17, 2017 by Diane Hoffmaster
As I get older I find that I suffer from more and more aches and pains. Of course, it would probably help if I stopped doing things like Taekwondo and leaping through 3 foot waves with my children. But I don't WANT to stop being active so I have learned to deal with middle aged injuries with Ibuprofen and ice packs. Of course, this means I go through an awful lot of ice packs during any given weeks. And now my husband is starting to feel a few aches and pains as well and the result is that we are always fighting over the one ice pack that lives in my freezer. Since I really don't feel like going out and buying 4 more ice packs I decided to try to make homemade ice packs from things I have sitting around the house.
Homemade ice packs can be made several different ways. Some will be more flexible than others when frozen so just pick and choose what is right for you. Here are a few suggestions I came up with for making homemade ice packs:
1. Rubbing alcohol and water
2. Corn Syrup
3. Dish liquid in water
4. Table salt and water (adjust how 'slushy' this one is by adjusting how much salt you add. Start with 2 tablespoon salt in 2 cups water)
5. A soaking wet sponge, frozen inside a plastic bag (this one is hard when frozen and works well for lunchboxes)
6. Hair Gel (this sounds a bit pricy but maybe the dollar store has cheap hair get that you can use!)
For most of these homemade ice packs you should make sure you place the contents into 2 ziploc bags for added security against breakage. Also, if you want to give it a bit of blue color like the commercial ice packs, just add a few drops of blue food coloring.
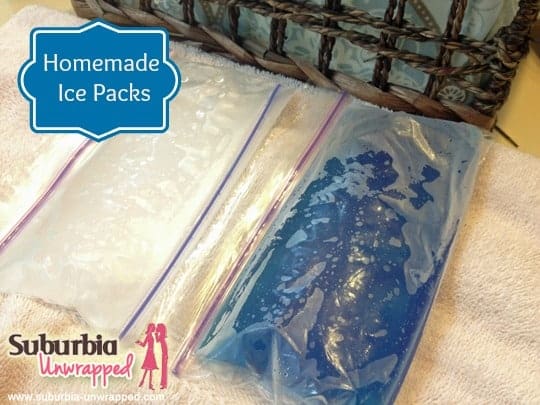
Homemade Ice Packs
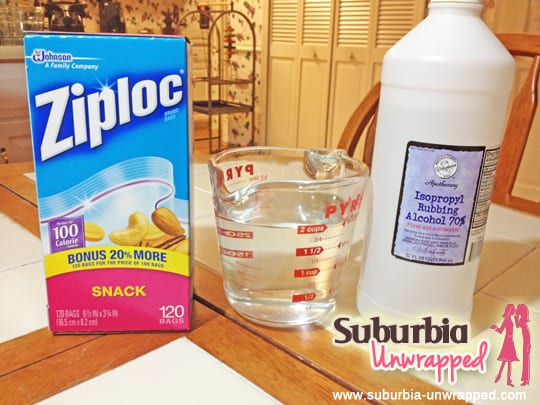
I decided to go with the Rubbing alcohol in water for my homemade ice pack. I have a huge container of it in the linen closet anyhow so I might as well get creative with it. If you can find the Green colored wintergreen rubbing alcohol you will have a pretty green color to your homemade ice pack.
1. Put one cup of rubbing alcohol into 2 cups of water
2. Pour the mixture into a ziploc bag and squeeze the extra air out of the bag. Seal tightly.
3. Place this sealed bag into a second ziploc bag and repeat the process of squeezing out the air and sealing the bag. This not only helps prevent leaks but it gives the homemade ice pack slightly thicker walls to help protect your skin from getting TOO cold.
4. Place the homemade ice pack in the freezer in a flat position for several hours. You will be left with a gel like substance that will mold to your injury.
5. When you get ready to use your homemade ice pack you may want to wrap it in a thin cloth if it gets too cold. My physical therapist usually recommends 20 minutes of cold therapy at a time for general aches and pains.
6. Remember to use good judgement when treating injuries at home. I am not a doctor and you should never trust medical advice you find on the internet. If you have an injury that requires icing stop and ask yourself whether or not you might want to head to the doctor before self treating!
Disclaimer: This post contains contain affiliate links. In other words, if you click on a button or link and purchase something, I may receive a small portion of the sale.

Diane is a professional blogger and nationally certified pharmacy technician at Good Pill Pharmacy. She has two college aged kids, one husband and more pets than she will admit to. She earned her BS in Microbiology at the University of New Hampshire but left her career in science to become a stay at home mom. Years of playing with LEGO and coloring with crayons had her craving a more grown up purpose to her life and she began blogging and freelance writing full time. You can learn more about her HERE.


Leave a Reply