Last Updated on March 14, 2021 by Diane Hoffmaster
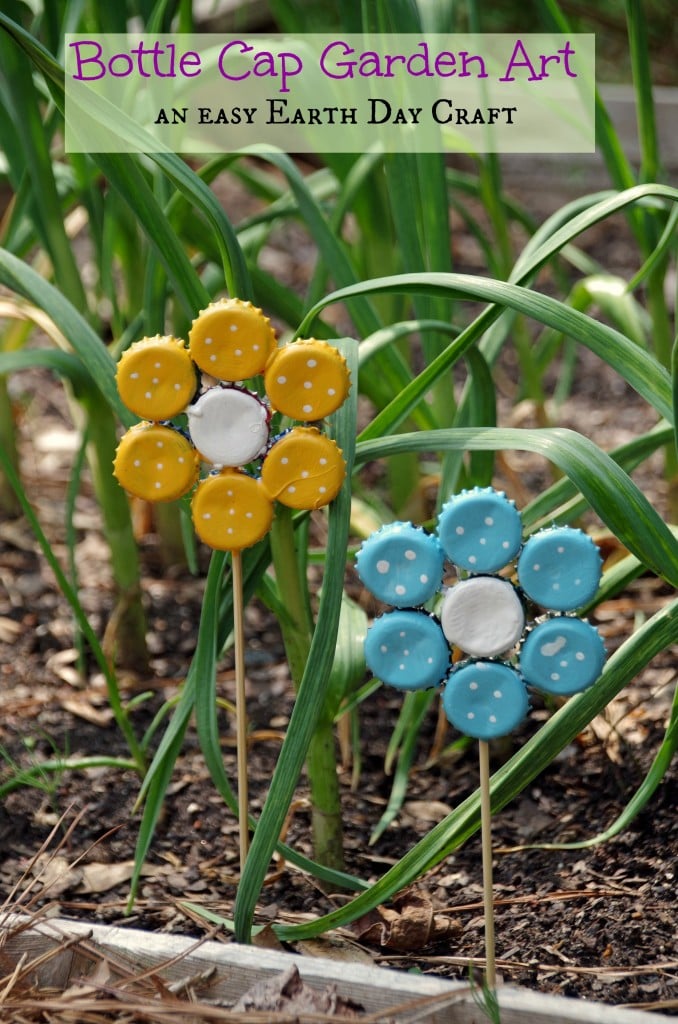
Looking for a frugal DIY garden art project? Learn how to make bottle cap flowers! Not only is it a fun garden DIY but it is also a great way to reuse bottle caps.
One of the best things we can do to help save our planet is to stop throwing away so much trash. Bottle cap projects are a fun way to take something relatively useless and turn it into art!
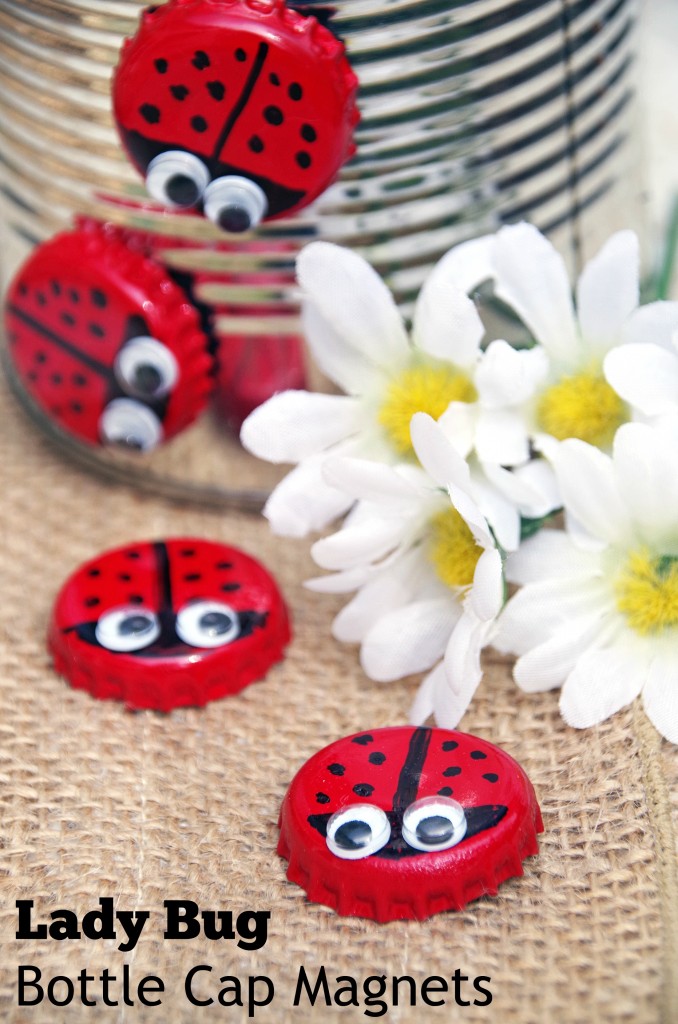
Bottle cap magnets are another great way to reuse beer bottle caps and I will share a few of my favorite ones below if you are looking for more upcycled craft projects.
Table of Contents
Eco Friendly Crafts and Lifestyle Tips
There are so many things that we throw away or recycle every single day that could actually be put to use in our homes. Egg cartons are great for starting seeds for the garden. Vegetable scraps make wonderful compost for our yards.
Cardboard cereal boxes can be cut up and used to make homemade car air fresheners. We can do our part to save the environment one piece of trash at a time! Even metal bottle caps have plenty of creative uses.
Bottle cap crafts and other upcycled craft ideas
- Easy Bottle Cap Pumpkin Craft
- How to Make a Beer Bottle Flower Vase
- DIY Desk Organization Idea that is Creative and Inexpensive!
Collecting Bottle Caps for Your DIY Garden Art
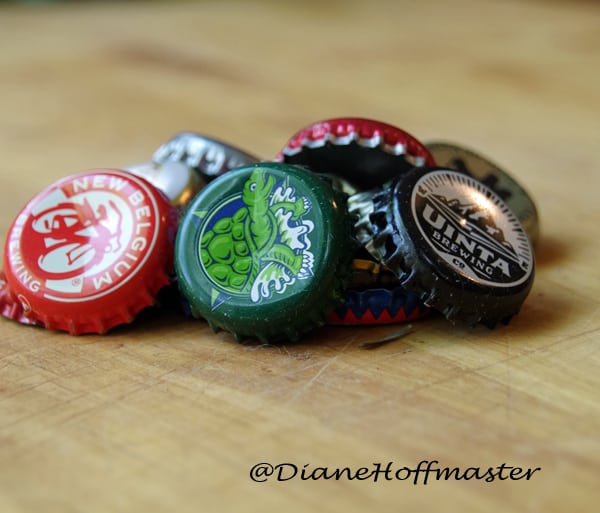
When my husband and I moved into our house 10 years ago, we installed a wall mounted bottle cap opener next to the refrigerator. Every time he removes the cap from a bottle of beer, it goes in the box.
We now have a VERY full box of bottle caps so I have been looking at bottle cap crafts for the last few weeks. Since I love DIY garden art, I figured these metal bottle caps would make a cute garden craft to add a splash of color to my back yard.
This garden craft is incredibly easy to make and if you supervise young kids with the hot glue gun, even kids can have fun with this.
Supplies for Bottle Cap Flowers
7 metal bottle caps per flower
1 wooden skewer per flower
paints (outdoor approved)
paint brushes
newspaper
ModPodge
hot glue gun
How to Make Bottle Cap Flowers
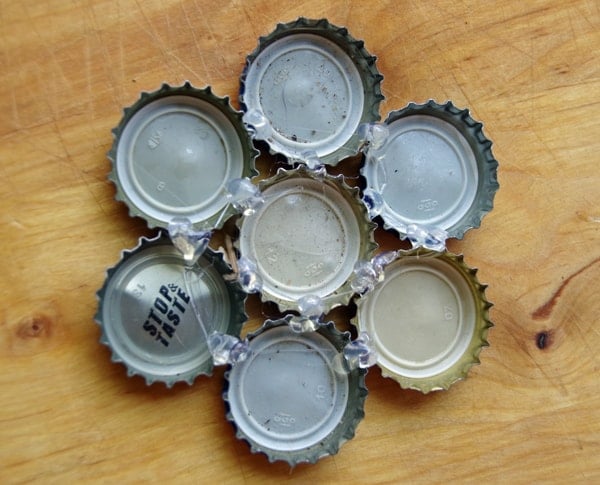
Learning how to make bottle cap flowers is incredibly simple! For this easy garden craft, arrange the bottle caps as shown above. You will need 1 bottle cap in the center and 6 around the outer ring. Place them upside down on a piece of newspaper.
Hot glue all the bottle caps together. Do this gently so they don’t all separate before the glue is dried. You may want to do this twice to make sure it is very sturdy.
Hot glue the skewer to the back of the metal flower. Let cool.
Flip over your flower and paint as desired. I chose white for the center and pastels for the outer ring. I added a few polka dots for a touch of whimsy. You could leave these unpainted if you want a more ‘natural’ look to your garden art! You will need 2 to 3 coats of paint to completely hide the bottle cap.
Once your paint has dried, add a light coat of ModPodge. Let dry.
Place your garden art in the garden and enjoy your easy Earth Day craft! You have saved a few pieces of trash from the dump!
Do you have any bottle cap crafts that you really love?
(NOTE: This post has been updated and content added from previous publish date)
Love bottle cap art?
Try making these cute Bottle Cap Lady Bug Magnets!


Such a cute idea. I have a friend who uses lots of artificial stuff in her garden, so I know what to make for her next now.
Thank you for great tutorial
garden art is nice for a tough of whimsy!
What is the white stuff in the middle Thanks
The center is just another bottle cap that has been painted white.