Last Updated on June 20, 2022 by Diane Hoffmaster
This DIY desk organization idea has been sponsored by Westcott Brand. All opinions expressed here are my own.
Do you have any idea how many times I have heard the phrase ‘I can’t find a pen’ in my house? Seriously. Where do they all GO? Well, I am hoping that this DIY desk organization idea will help my family keep pens, pencils, and glue sticks front and center from now on.
What I really love about this desk organizer is that it is easy to make and incredibly inexpensive. And, of course, it finds a great new use for cans that would otherwise just get tossed into the recycle bin. I do love upcycled crafts! So, grab a few of those empty cans and get started.
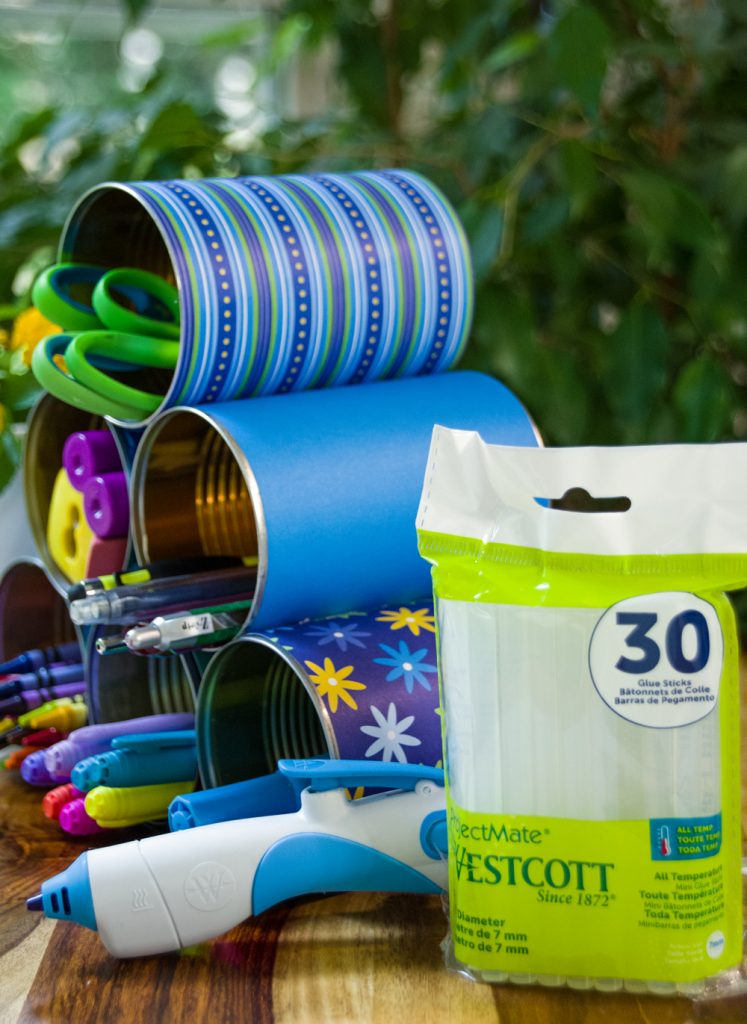
Table of Contents
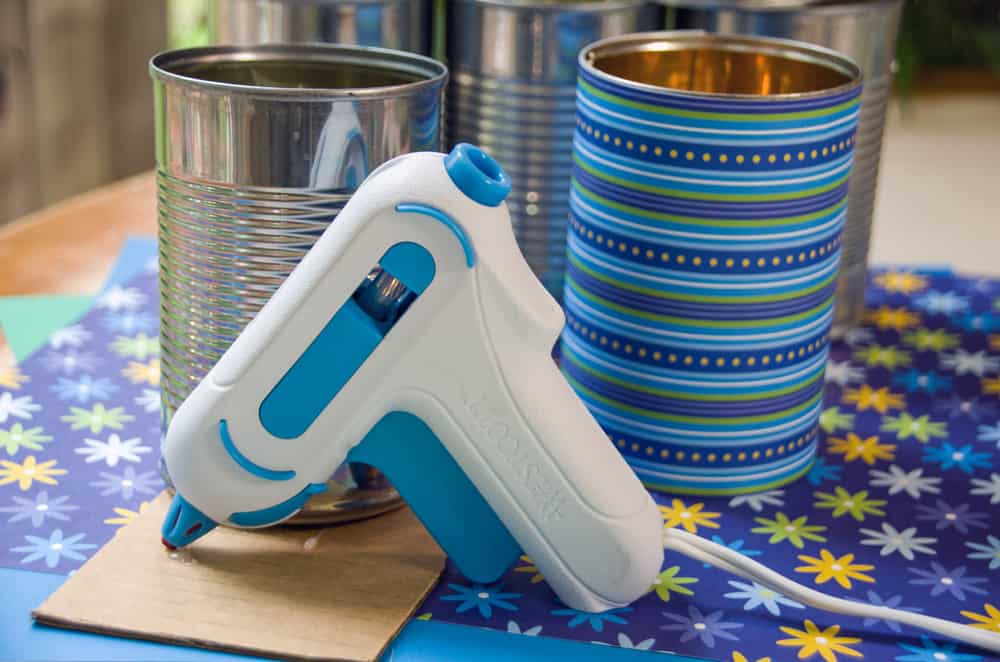
In Search Of A Better Glue Gun
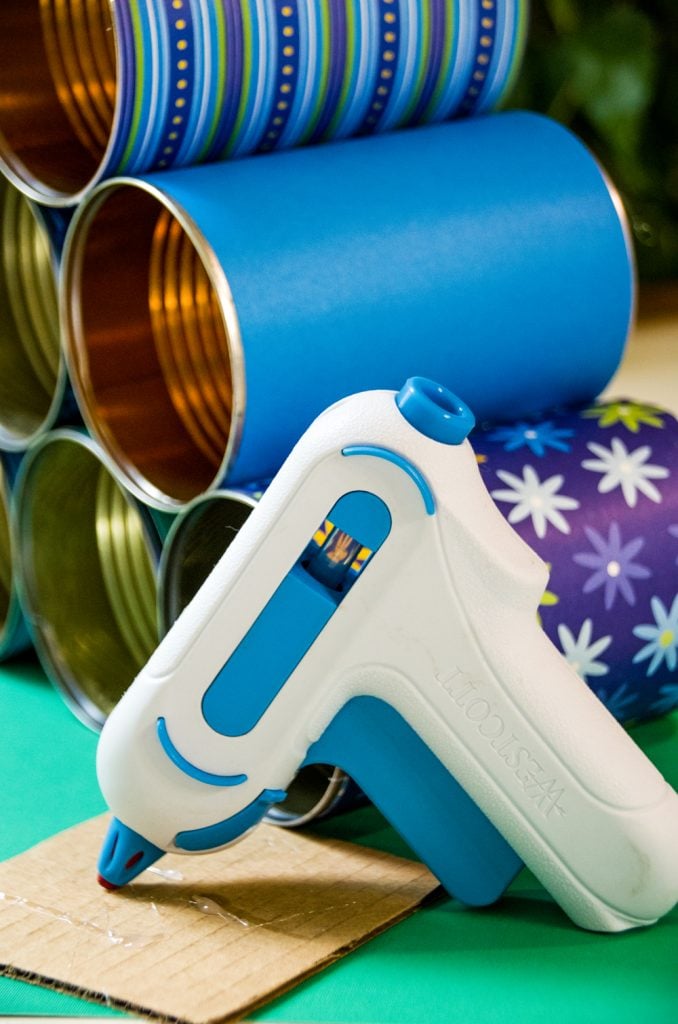
So, I have a love/hate relationship with my glue gun. It’s old and I’m not a particularly skilled crafter. Westcott Brand sent me their new mini hot glue gun. I was curious to see how it compared to the ancient one I have had for 10 years.
Let me just say that I am impressed! You can get the traditional glue gun or their new glue pen, depending on the style you prefer. I love that the tip goes from blue to red to indicate that it’s ready to use.
And even better, there is ZERO leaking of glue from the tip until you press the plunger. My old glue gun leaks out glue even when I am not using it. I am definitely a fan of Westcott Brand and will be using this glue gun for years to come!
Supplies For Your DIY Desk Organizer
So, do you like this DIY desk organizing idea? You want to make it for yourself, right? It is VERY simple to create. Here is what you need for supplies:
- 6 empty tin cans, washed with labels removed.
- scrapbook paper
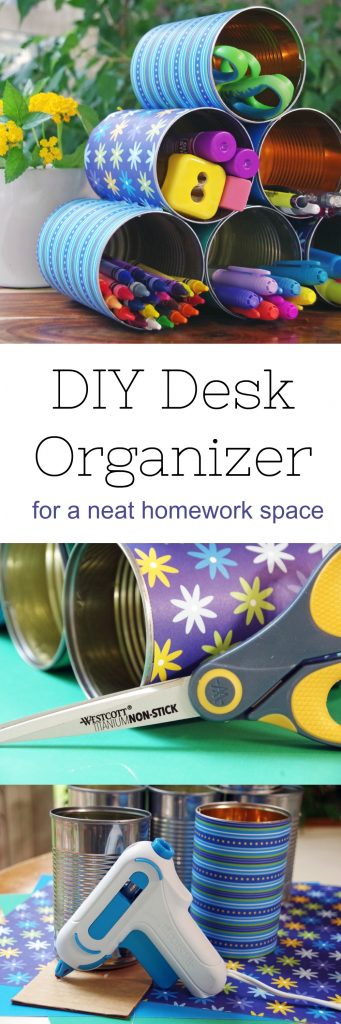
- scissors and/or paper trimmer
- hot glue gun and Westcott all temperature glue sticks
How to Make It
Making this desk organizer is simple.
Wash and dry the tin cans
You will also want to remove the labels. Don’t worry about getting them totally removed. You are just going to glue scrapbook paper to the outside anyhow.

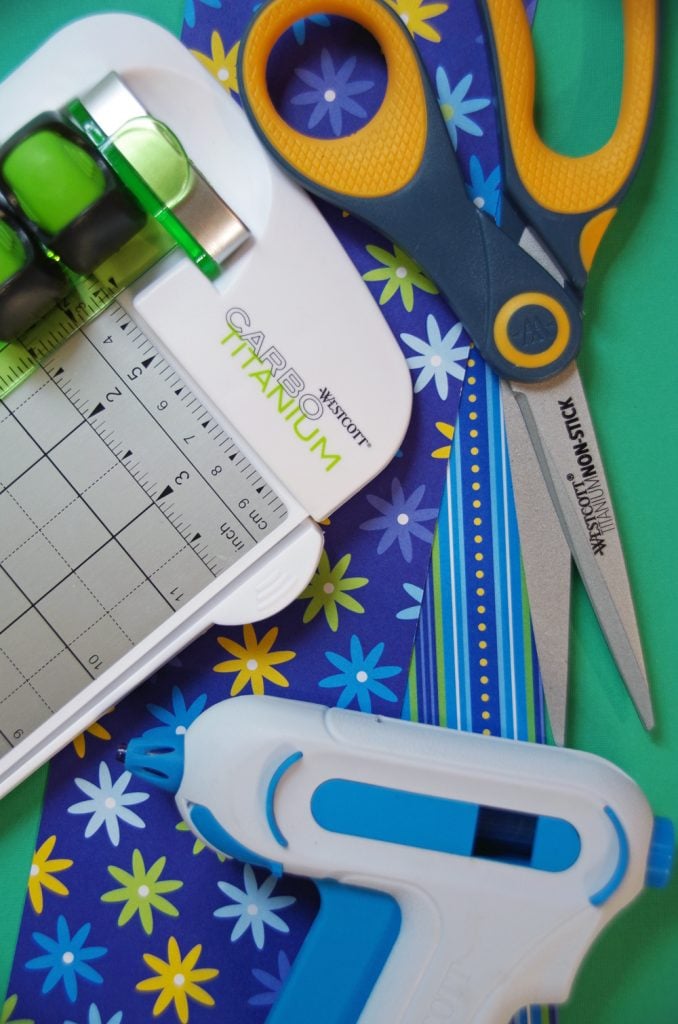
Measure the scrapbook paper before cutting it.
Just set the can on the paper and make a mark with a pencil so you know how wide to cut the paper. Using either scissors or a paper trimmer, cut the paper to the width you need it. I chose several patterns and solid colors in the same general color scheme. Choose any color or theme that inspires you and matches your decor.
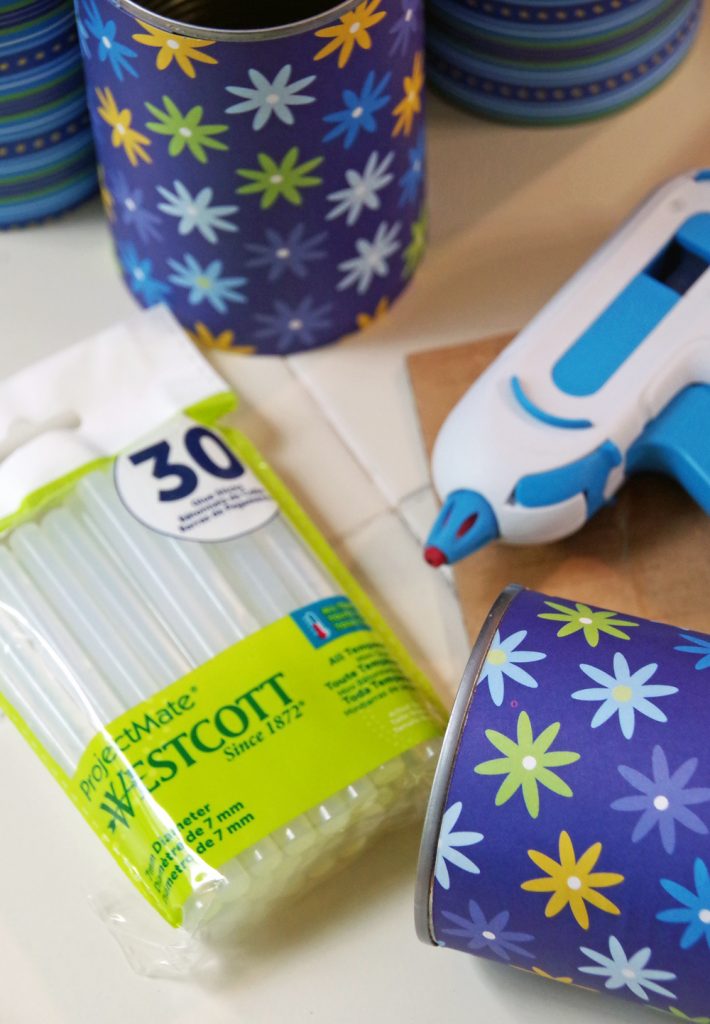
Glue the paper onto the can.
I glued the first edge of the paper, rolled the can, and then glued the end shut. It won’t be handled a ton so light gluing is all you need to keep the paper in place.
Assemble your desk organizer
Once you have all 6 cans wrapped in paper, just glue them all into a pyramid shape. 3 cans on the bottom, 2 in the middle, and one can on top. Hold the cans together for a few seconds after you add the glue to give it time to harden and set the cans in place.
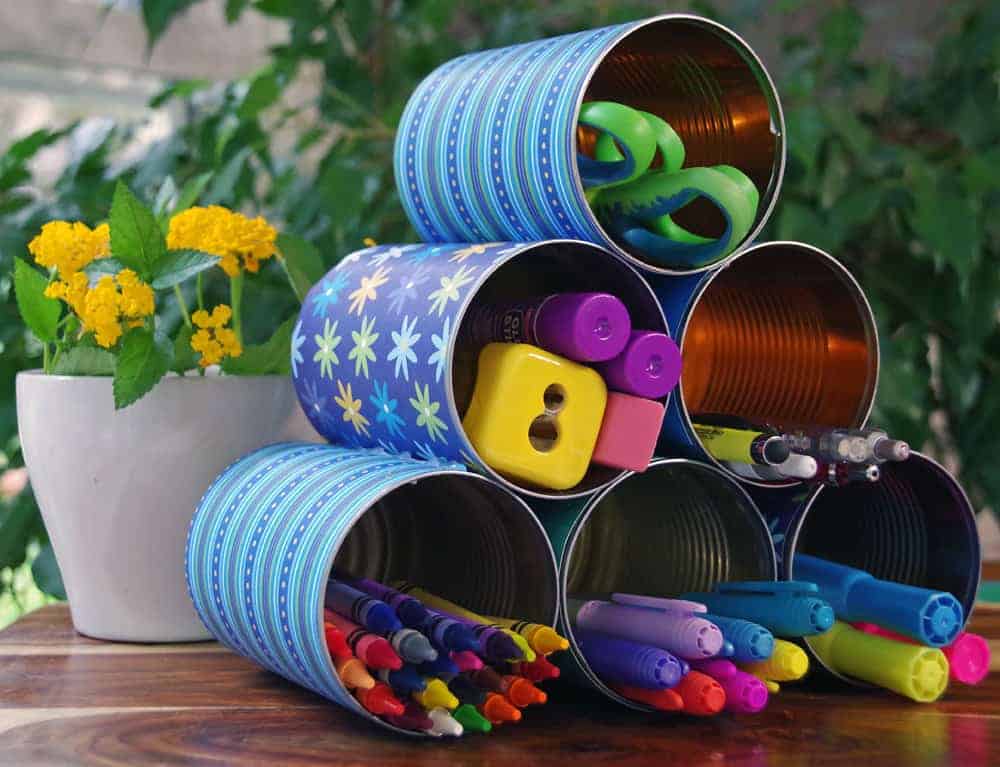
Add crayons, markers, etc.
Once you have all the cans glued together, all you need to do is add your school or office supplies to it, and you are done. If you have small kids, you can put in glue sticks and crayons. Even without kids, this DIY desk organization idea is still incredibly useful.
It’s a great place for pens, stamps, and other office supplies you may need on a regular basis. Do you know how often I have to hunt for a permanent marker to label a jar or container? Quite a bit! And now I will never have to go digging through a drawer for them!
No Special Skills Are Required!
Even if you do not consider yourself a crafty person, you can make this DIY desk organizer. I am seriously craft challenged. This project was quick and easy and it’s a great way to reuse something that would otherwise get thrown away or recycled.
Want more upcycled craft ideas?
If you are looking for more creative upcycled crafts, here are a few you might want to try:
- Make an upcycled car air freshener and keep your car smelling fresh.
- Create an upcycled washi tape bookmark for the book lover in your life.
- Or, get some color in your garden with this bottle cap flower garden art project.
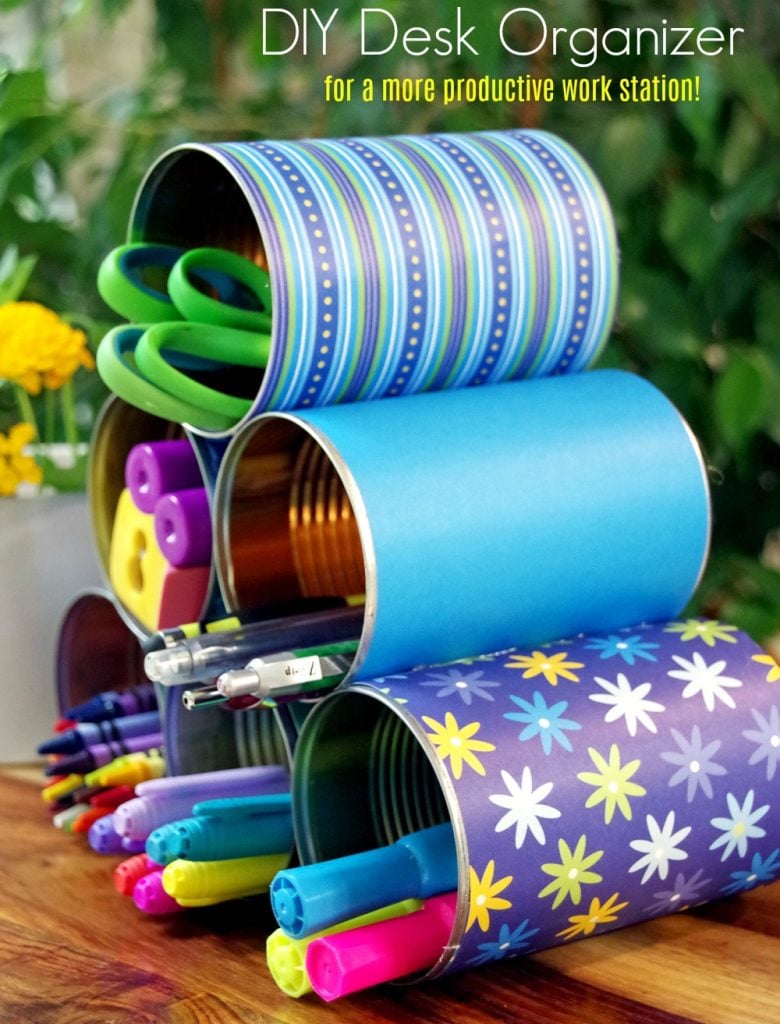
DIY Desk Organizer
Organize your desk with this upcycled desk organizer made from empty tin cans.
DIY Desk Organizer

This upcycled desk organizer is made from empty tin cans. It is cheap and easy to make and keeps all your office supplies at your fingertips.
Materials
- 6 empty tin cans, washed with labels removed.
- scrapbook paper
- hot glue gun and glue sticks
Tools
- Scissors and/or paper trimmer
- Hot glue gun
Instructions
Wash and dry the tin cans and remove the labels.
Measure the scrapbook paper before cutting it, making sure that it fits your tin cans.
Glue the paper onto the cans.
Glue them all into a pyramid shape. 3 cans on the bottom, 2 in the middle, and one can on top. Hold the cans together for a few seconds after you add the glue to give it time to harden and set the cans in place.
Let try for an hour or so before filling with supplies.
Like this DIY desk organization idea? Pin it for later!
I am so glad you shared this easy DIY Desk organization idea because we have so many coffee cans around and I kept thinking there must be a way to use them for something. I hate to see them get recycled or tossed in trash when I knew there was some crafty idea I could use them to get organized with. I am going to give this idea a try, the yarn around the can is something my daughter has done before in her bedroom for organizing and it really makes the container pop in color 🙂
I love projects that use recycled items like tin cans. I like how the scrapbooking paper lets you customize the decor so it looks great in any room. My kids would probably like to make one for their own desks.
You made those cans look GOOD! I need help with my desk and this would be an inexpensive project to try!
I love a good upcycled craft project! This desk organizer is adorable, and I love how it can be customized with whatever scrapbook paper you wish to use. Thanks for the tutorial!
This is such an awesome idea! I use canned goods all the time, anyway, and I have a ton of Washi tape. Boom!