Last Updated on September 12, 2014 by Diane Hoffmaster
Last year my daughter was given a school project that, of course, needed parental assistance. Her job was to make a model of the ocean flour using salt dough. Honestly, I had never worked with salt dough before and was a little intimidated. I am not usually the most crafty of individuals. I usually end up with glue gun burns and paint in my hair! But, I was really amazed at how easy salt dough was to make AND how incredibly easy it was to mold into the shape of an ocean floor! A little bit if paint and some plastic sea creatures and she had an A+ science project! YAY mom, right? Not only did she rock the science project but I learned that salt dough is a great way to make all sorts of creative decor and gift items! I decided to play around with a few ideas this morning and this is what I have come up with so far. Please scroll to the bottom of my post and click on the Salt Dough Inspirations Pinterest board for more ideas of what to do with this oh so versatile stuff!
So, the first step in our salt dough exploration is to actually make the salt dough. Here is the basic recipe along with a couple of variations.
Table of Contents
How to Make Salt Dough
- 2 cups flour
- 1 cup salt
- 1/2 cup water (plus or minus a bit, depending on the dough’s consistency)
Directions: Very simple! Just put all three of the ingredients in the bowl of a mixer (or any large bowl if you don’t have a mixer). Mix until it forms a ball. Add more water if it is too crumbly and add more flour if it is too wet. You want a mold-able dough that does not crack but also one that doesn’t stick to your fingers.
Just roll the dough out on your cutting board with a rolling pin to about 1/8 to 1/4 inch thick. I didn’t really measure but the thinner they are the easier they will dry. Once you have the shapes cut out with cookie cutters just lay them on a cookie sheet lined with parchment paper and bake 2 hours at 200 degrees F. You will want to flip them over half way through. If you need to hang them up, don’t forget to make a hole in the top with a straw or toothpick before baking.
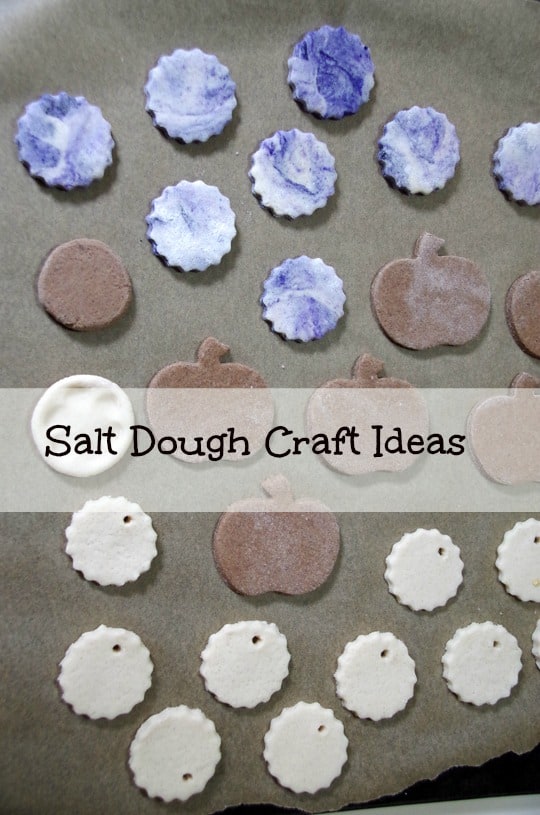
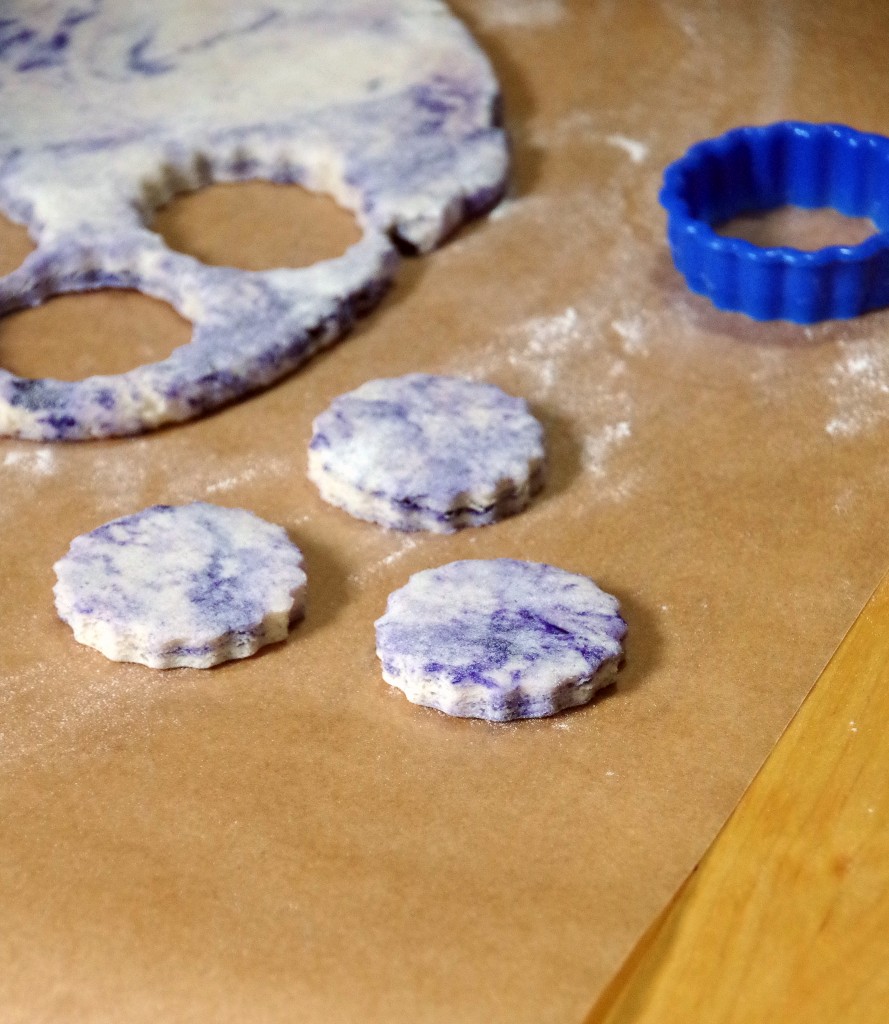
Variations: To make cinnamon dough add 2 TBSP cinnamon to the mix and to make a marbled dough add a few drops of food coloring once you have it already mixed. Continue mixing only a few seconds more to created a marbled look. If you want a solid colored dough continue mixing until the salt dough is uniformly colored.
Salt Dough Table Place Cards
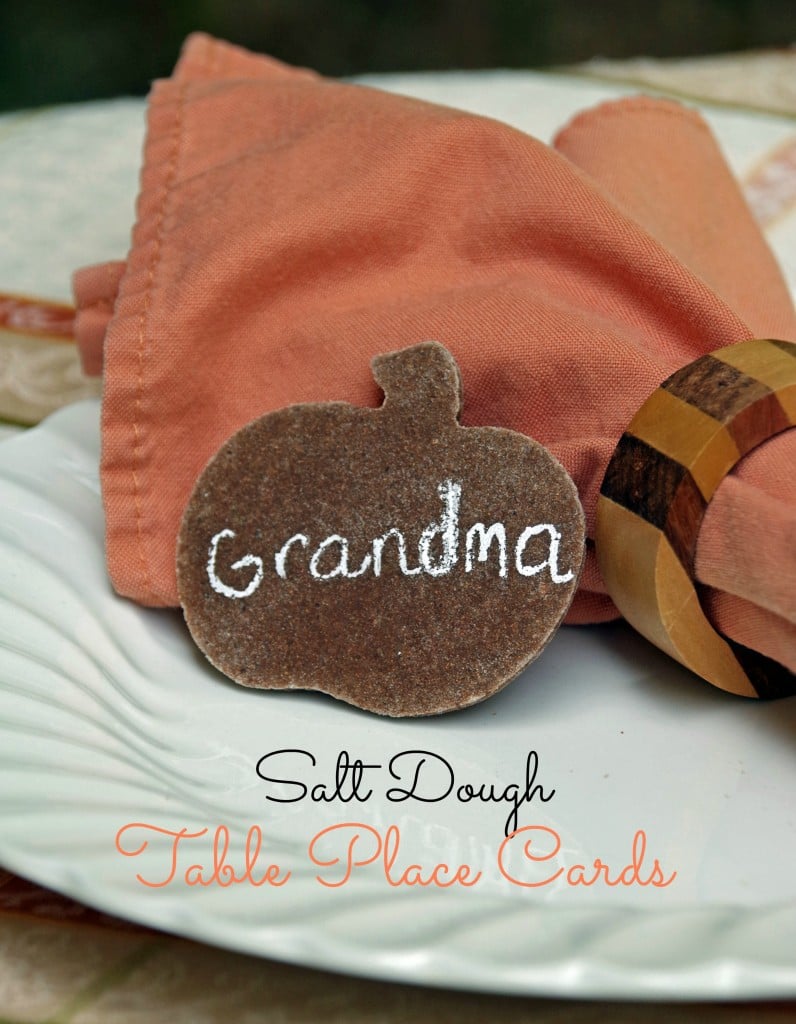
So, for the first salt dough craft I decided to use pumpkin shaped cookie cutters to create place settings for the fall table. If you are having a dinner party this fall or having company for Thanksgiving this is an incredibly easy way to tell people where to sit.
To make this particular salt dough craft I used the cinnamon salt dough and rolled it out rather thinly (maybe 1/8 inch? I didn’t really measure!). You can put a bit of cinnamon and flour on your cutting board if your dough sticks a bit. Place on cookie sheets and bake as directed above. When they are cool you just have to put people’s names on them and place each salt dough table place card on the person’s plate!
Salt Dough Ornaments
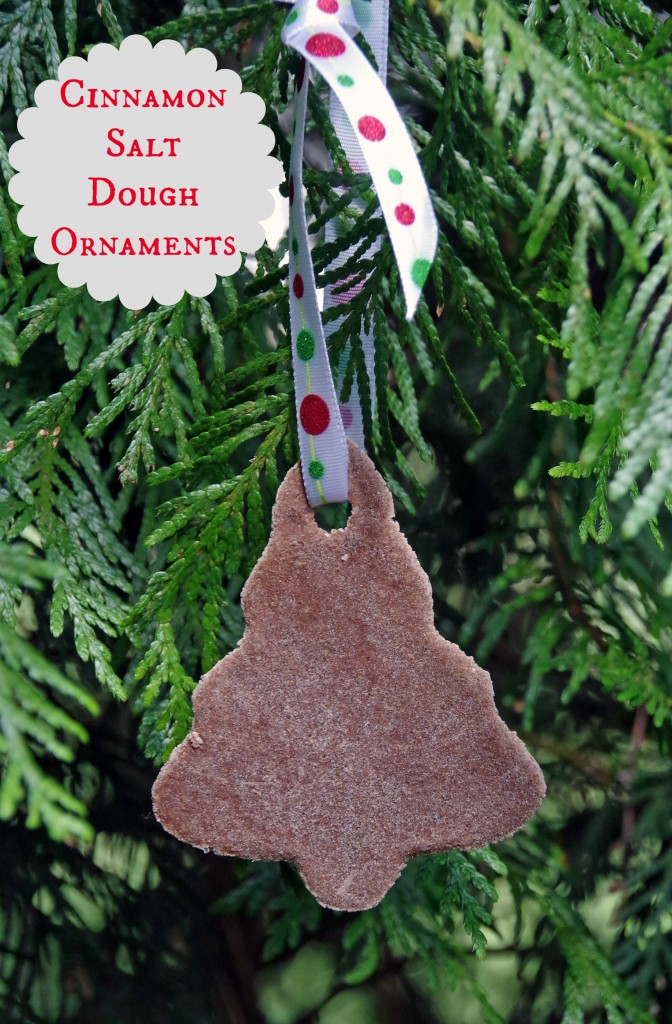
I know, I KNOW…you are saying it is way too early to talk about Christmas ornaments, right? Well, I just couldn’t resist trying my hand at salt dough ornaments. I used the cinnamon dough again and cut into the shape of Christmas trees. I put a hole at the top for some ribbon with a straw. I like the look of the natural brown dough for this homemade ornament but you could use the plain dough and let the kids paint them, too.
DIY Salt Dough Gift Tags
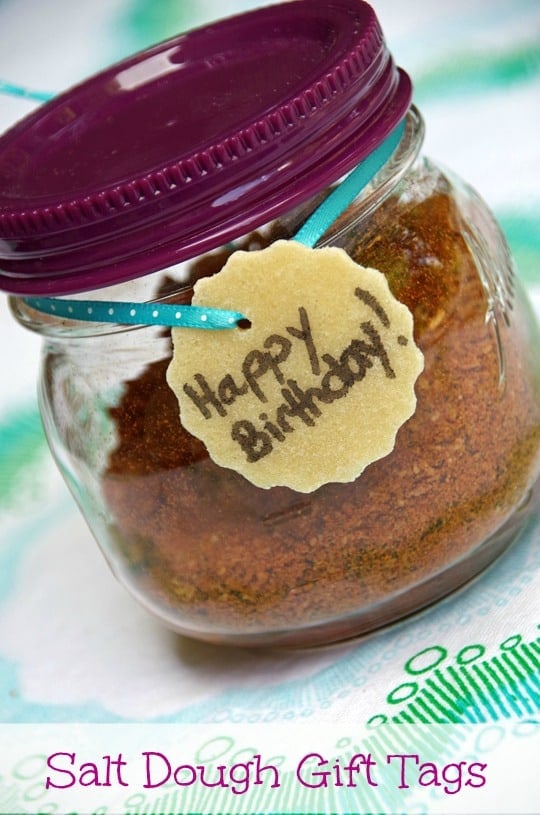
If you have a small cookie cutter you can easily turn your salt dough into homemade gift tags. I chose to use the plain dough for this one and used a toothpick to put a small hole at the top for some ribbon. If you are giving a homemade gift this holiday a salt dough gift tag might be just the personal tough it needs to finish it off! You can paint the gift tag with festive colors or leave plain. Use a sharp tipped marker for writing your recipient’s name on it.
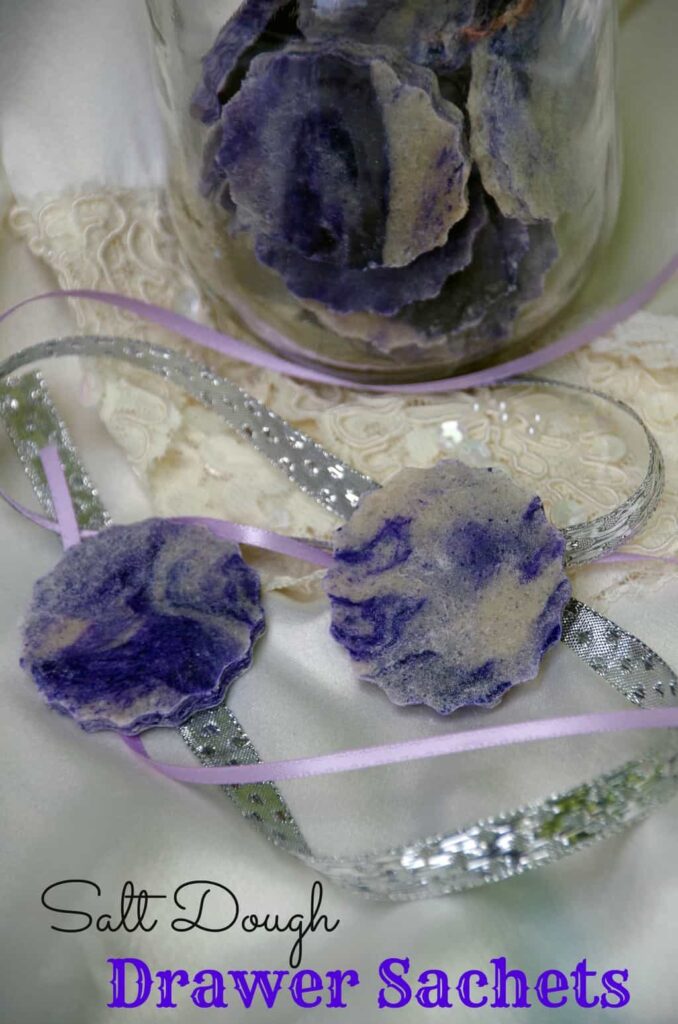
Salt Dough Drawer Sachets
I will say that off all the ideas that I came across, these salt dough drawer sachets from mpmideas.com were the most unique. They would make a wonderful homemade gift for a mom or grandmother. Or really, anyone you think would enjoy having their drawers smell pretty. You can use lavender or rose for girls or more manly scents like patchouli or even a few drops of a fine smelling cologne for men.
I used Wilton Icing Paste that I had leftover from my daughter’s birthday cake. It is a deep purple and I just touched the end of the spoon to it and brushed it onto the dough before I finished mixing. It was very concentrated so I didn’t need much. You can just use regular food coloring drops as well. You may want to roll out your marbled salt dough on parchment paper taped to the counter with more parchment paper on top of it. The food coloring WILL dye your cutting board and rolling pin so be careful! Once it is rolled thin just cut out with your cookie cutter and bake as directed.
After the salt dough drawer sachets have cooled you will want to drop 1 to 2 drops of essential oil onto one side of them. Let it soak in for a couple hours before packaging. You can place these drawer sachets into a glass mason jar and give as a gift. The glass jar will help retain the scent longer.
Honestly, I had a blast with these salt dough crafts and there are SOOOOO many other ways to use this stuff! If you want a few more ideas please follow me on Pinterest!

