Last Updated on August 30, 2016 by Diane Hoffmaster
Tonight I am taking my daughter to the One Direction concert here in Atlanta. She is beyond excited to be spending the evening listing to One Direction and 5 Seconds of Summer at a live concert with several of her friends. I am thinking I may need to bring some ear plugs with me along with my camera! This is her first concert and she is decking herself out in One Direction ‘stuff’. I bought her a Tshirt to wear, which she loves. She is also sporting One Direction socks, and a One Direction bracelet and even One Direction perfume. Can you tell she is a little bit obsessed with this band? Last night she decided to make herself a One Direction duct tape hair bow to wear. Yes, we own not one but TWO rolls of One Direction duct tape! I truly did not know you could turn duct tape into a hair bow but here is how she did it:

Table of Contents
How to Make a Duct Tape Hair Bow
Supplies:
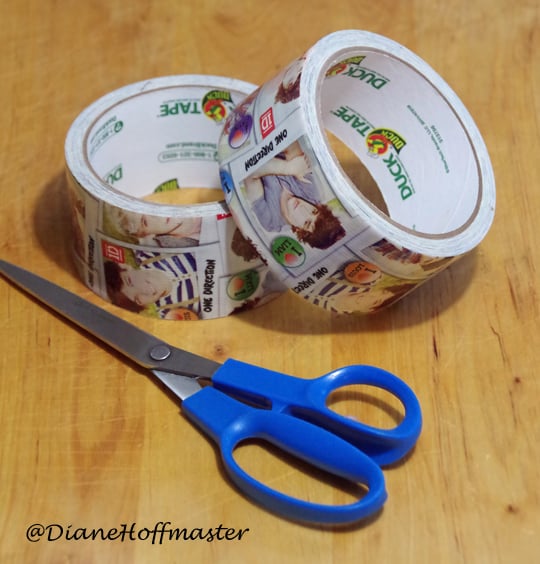
Duct tape of your choice
Scissors
Elastic Hair Band
Directions:
Step One: Cut 2 strips of duct tape of the same length. For my daughter’s hair bow, we used 2 feet 4 inches of duct tape for each strip. You will then want to stick them to each other with each print side facing outwards. Yes, this takes an incredible amount of patience! My 12 year old did it so you can, too!

Step Two: Once your tape strips are stuck to each other you want to lay the strip down on a flat surface and fold it over itself as shown above. Pretend you are making pretzels. Just cross each end over itself after making a loop.

Step Three: This part takes a bit of creativity. You need to pick up the bow shape and pinch the center together. You want two nice shaped loops and two decent length pieces coming off the bottom. Just hold it with one hand while fiddling the shape around with the other until you have it the way you want.
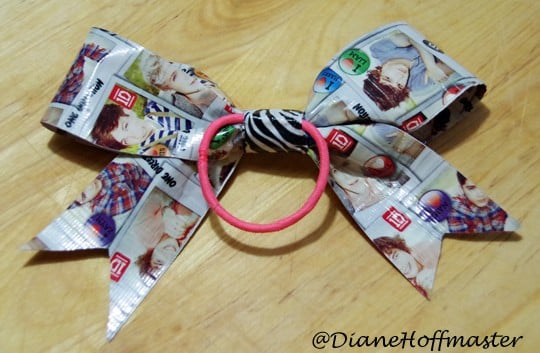
Step Four: Next you are going to use a narrow piece of duct tape in whatever color or pattern you want to wrap around the center of your duct tape hair bow right where your fingers were holding. Once you have it wrapped once or twice, place an elastic hair band as shown and wrap that in place with the duct tape as well. Then, cut the ends of the bow as shown to be a bit more decorative. And you are now done with your duct tape hair bow!
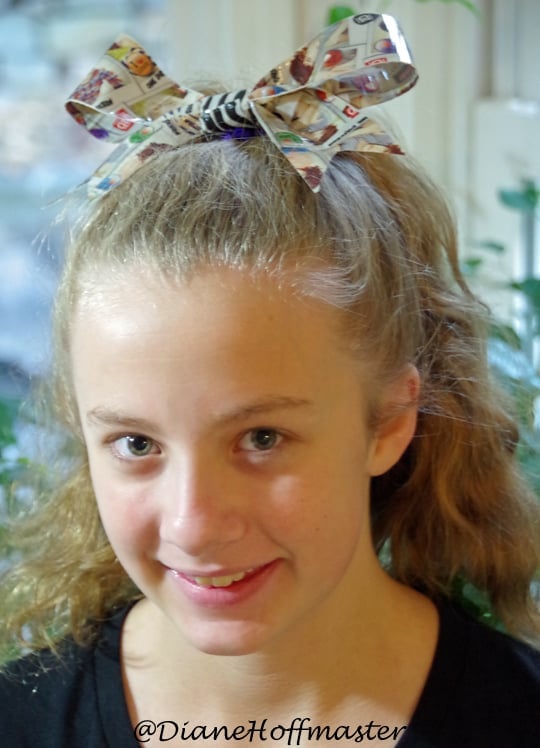
So, what do you think of her duct tape hair bow? Have you ever tried this?
If you are a crafty sort of person why not follow my Creative Crafts board on Pinterest for some inspiration?
What a great idea! It looks easy enough and like it should last well. I love it!
Now that’s cute!