Last Updated on September 20, 2017 by Diane Hoffmaster
Everywhere I look this month, I see pumpkins and that means Halloween is almost here! From pumpkin muffins to pumpkin spice playdough, Fall is my all time favorite season! If you really want to have some fun with your kids, buy several pumpkins and check out these easy pumpkin carving tips. The memories you will make with your kids as they get grossed out over pumpkin innards will be priceless! Even if you don’t have kids, learning how to carve a pumpkin can be a ton of fun. You will get to admire your handiwork every day as it brings some eerie ambiance to your fireplace mantle or front porch step. So, find your perfect pumpkin, gather up your pumpkin carving supplies, and lets start getting our hands dirty!
This post contains affiliate links. If you make a purchase through a link on this site,
we receive a small commission at no additional cost to you.
Table of Contents
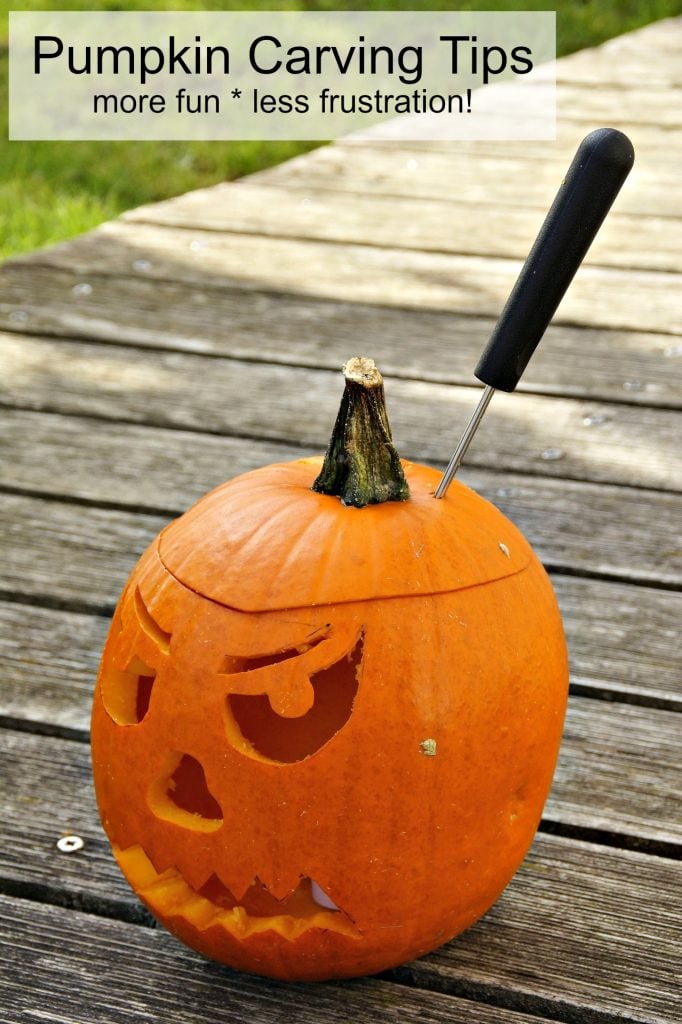
Easy Pumpkin Carving Tips
Whether this is your first pumpkin carving experience or your 100th, try to enjoy the process and not be overly concerned with whether or not your Jack-O-Lantern comes out perfectly. Remember, sometimes the ugliest carved pumpkin can create the most amazing memories!
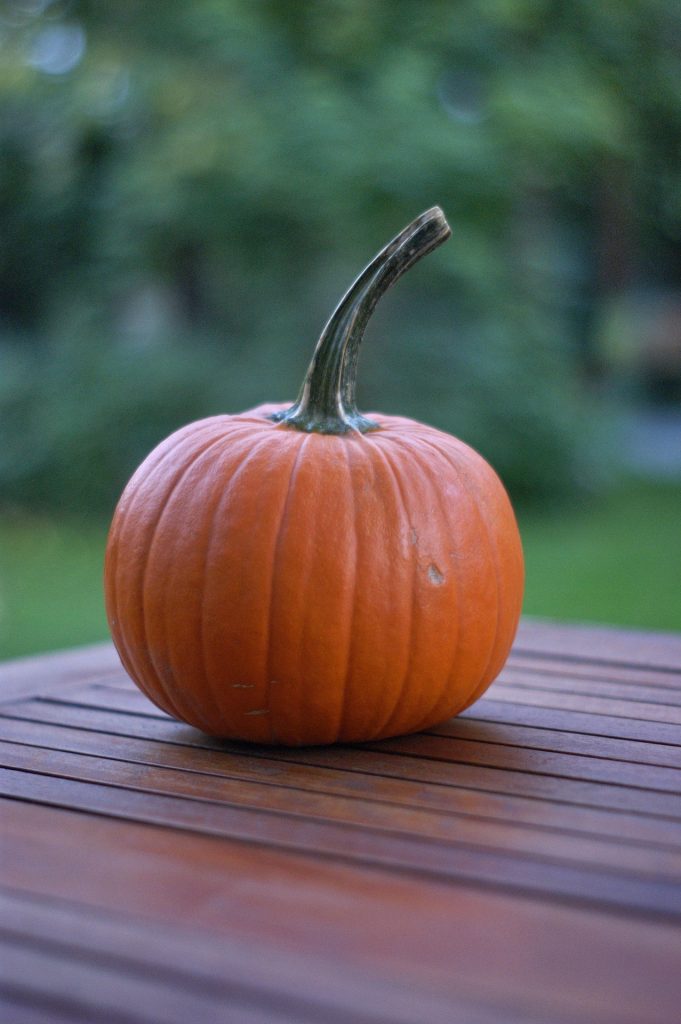
Choose the right pumpkin
Make sure you choose a fresh pumpkin that is firm and has no bruises. You want the stem to be stiff and firm and the base should be relatively flat to make carving and displaying easier. Pumpkins that roll off counters don’t last long!


Cut out the lid on an angle
You don’t want to cut the lid off the pumpkin with an incision that is completely perpendicular to the ground. Cut it at an angle, with the tip of the knife pointing slightly inwards so that it doesn’t slide right back into your pumpkin when you set it down. You can use a boning knife for this to make it very easy!
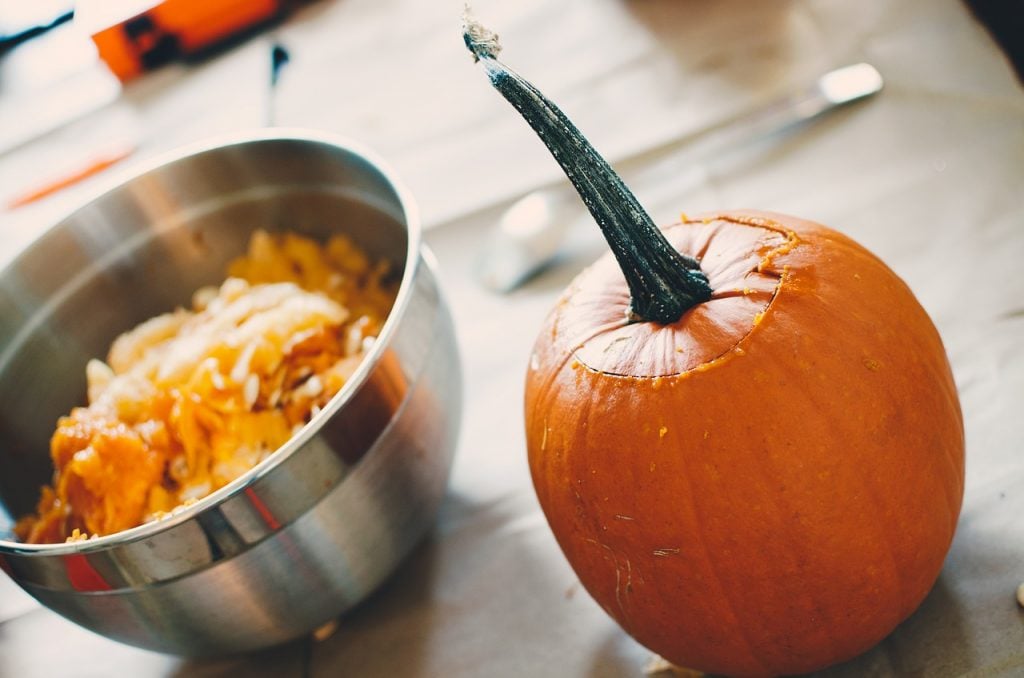
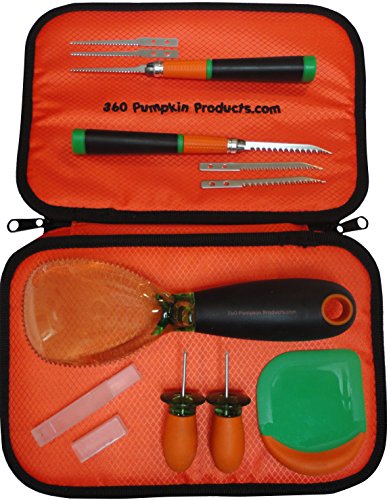
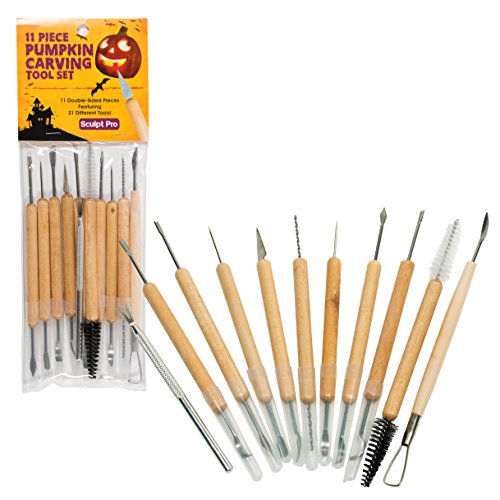
Scoop out all the pulp:
You really want to scrape out ALL of the innards from inside the pumpkin. Use a large soup spoon or buy a set of pumpkin carving tools. Any extra strings of pumpkin just create a mess and a fire hazard when you put your candle inside there. Use your scraps creatively…spread them out as ‘guts’ around a massacred pumpkin or carve a tongue or warts out of a chunk you carved out for the eyes.


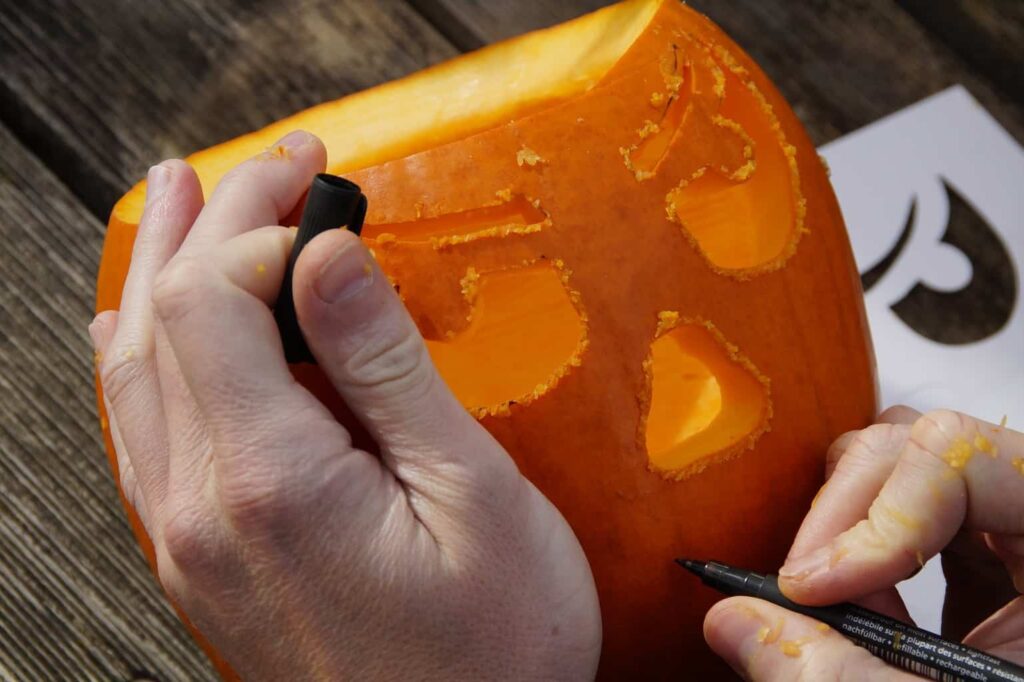
Choose your design wisely
Carving a pumpkin is tough. If you have never done it before, don’t choose an incredibly difficult design. You will only end up frustrated! Trace your design onto your pumpkin with a washable marker or pencil so you have an easy design to follow. Complicated is not always more impressive. Sometimes, the simplest designs are the best!
Keep your pumpkin fresh
In order to inhibit mold growth, you can wash down the inside and outside of your pumpkin with dilute bleach water. Let it air dry and then spread some petroleum jelly around the cut edges to prevent them from drying out.
Sprinkle Cinnamon inside the Lid
For a beautiful aroma while the candle burns, sprinkle the inside of the pumpkin lid with cinnamon. As the flame flickers, it will warm up the cinnamon and your house will smell incredibly festive!
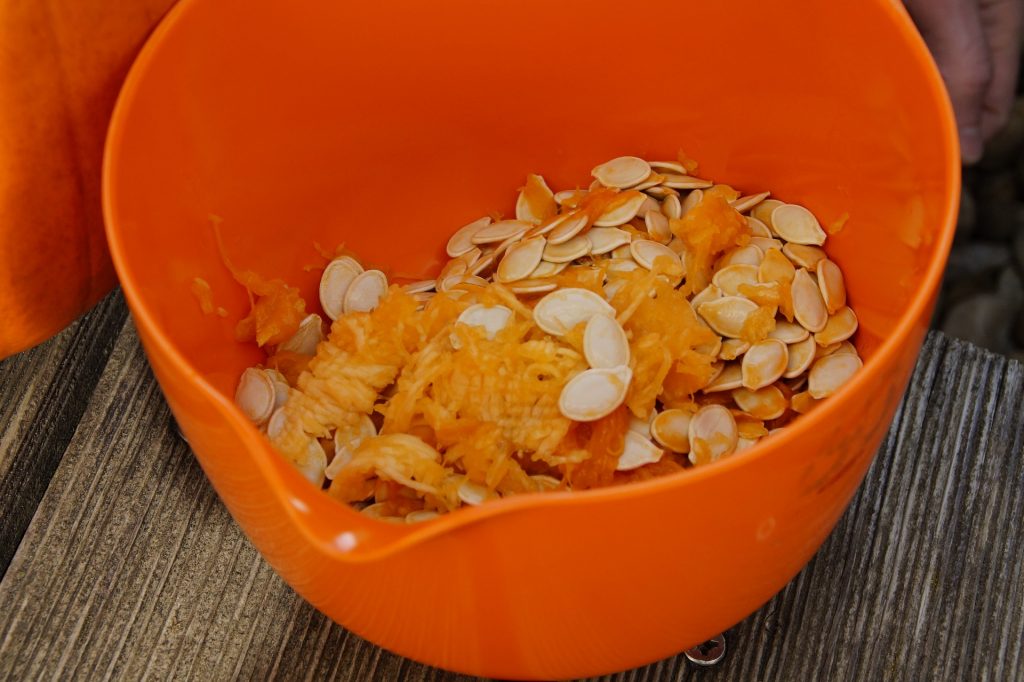
Don’t waste the seeds!
Roasted pumpkin seeds are delicious! Just clean off the strings and pulp (this does take a bit of work!) and let them dry on a clean kitchen towel for a bit. Place them on a cookie sheet with just a small drizzle of olive oil and some of your favorite seasonings. Stir a bit and roast at 350 degrees for 20 minutes or so, stirring a couple of times. Let cool and enjoy!
Have any other easy pumpkin carving tips to share?
These are all great tips. I can’t wait to carve our pumpkin this year!